Stir plate
It seems almost obligatory in the home brew community to post a photo story of assembling your stir plate. Hopefully my effort will encourage others with crappy soldering skillz to have a go.
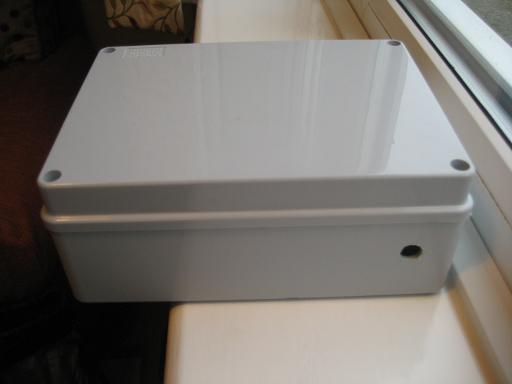
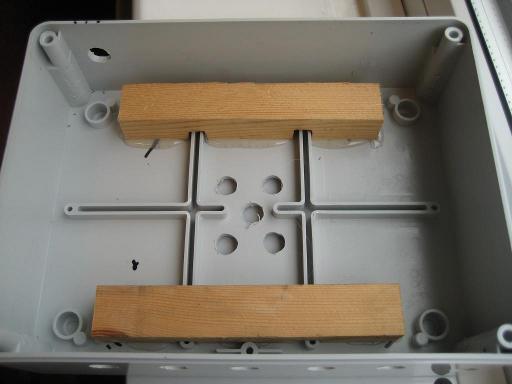
First pic shows the project box. I recommend you choose one that's a bit smaller than the base of your flask, at least in one direction. This way the weight of the starter will be born by the rigid side walls, otherwise the top of the box might bow and foul the spinning magnets.
It was actually quite useful having some flex in the lid when tuning the vertical position of the fan/magnets. I knew I'd set the height spot-on when I could apply a small amount of pressure to the top of the box with my fingers and hear the spinning magnets just starting to brush against the inside of the lid.
Suitable for 180mm diameter flask. (£9 inc p&p, eBay)
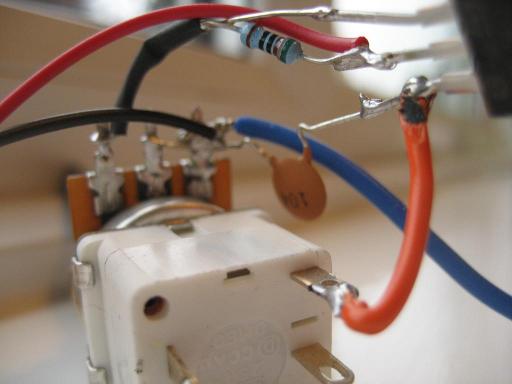
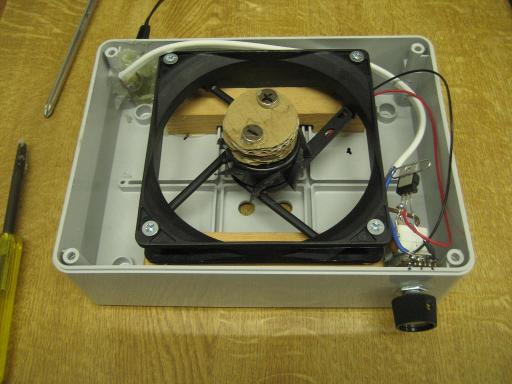
The voltage regulator generates a little heat so some ventilation might be good.
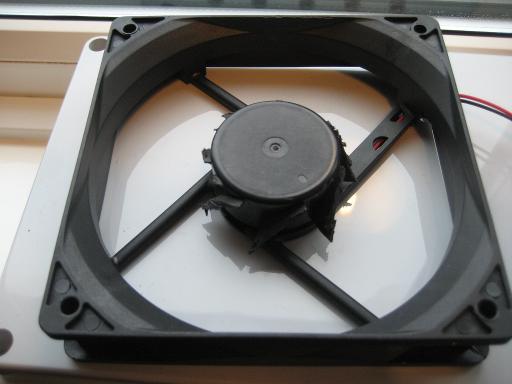
Dremeled off the fan blades to reduce load on the motor. Makes the unit run quieter, saves some energy and increases fan life. The stubs left behind should still generate enough airflow for the small amount of cooling needed.
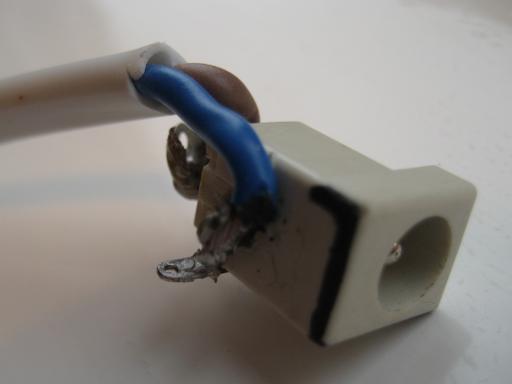
A commonly used approach is to simply use a wire-wound rheostat (of a suitably high wattage) in series with the motor, but a voltage regulator circuit doesn't cost much more and gives more precise control. Fiddly soldering, though. Either way, use a variable resistor that incorporates a switch. This means you always start spinning slow and build up, which reduces the chance of throwing the stir bar. Note that when using the voltage regulator circuit, the 'sense' of the variable resistor is counter intuitive: you need to wire it so as to give min resistance (0 ohms) on switch-on. As you turn clockwise, you want the resistance to increase.

The max. output voltage (as long as it's not greater than the input voltage) is given by:
1.25 x (1 + Rv/R1)I used Rv = 5,100 ohms and R1 = 510 ohms. As mentioned below, next time I'd limit the output voltage to 9v since the fan's speed at 12v is much too high for a stir plate. To achieve this you could use Rv = 2,200 ohms and R1 = 360 ohms. If you aim for 9v output, best to use a 9v PSU so that the voltage regulator has less voltage to drop (less heat generated).
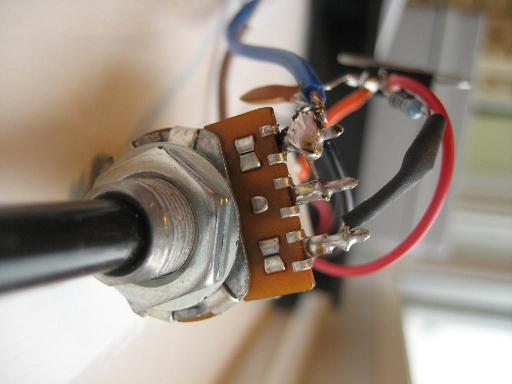
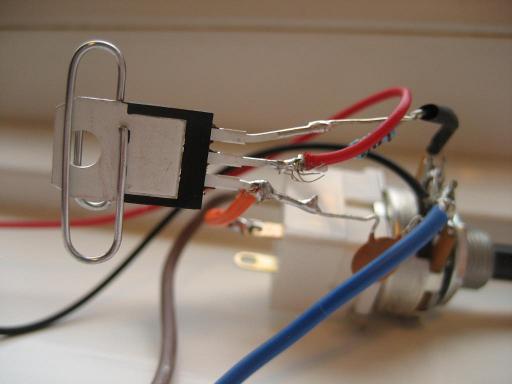
More DIY heatsinks for fun.
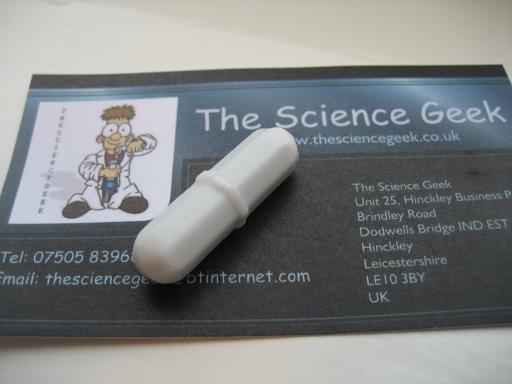
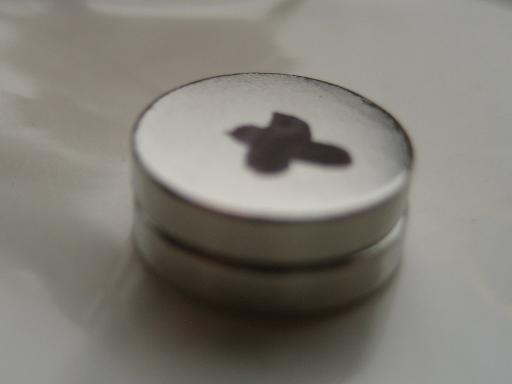
It's important to know the relative polarity of the two magnets before mounting. Stack them together and, with a CD marker per, mark a plus on the top of the stack and a minus on the bottom of the stack.
Need some distance between the magnets and the fan motor to avoid interference. At the same time you don't want to burden the fan with too much mass, so a few layers cardboard glued together is ideal. The cardboard stack is velcroed to the fan to allow tweaking. If the rotating mass isn't central you'll hear vibration. In this case, observe the spinning magnets to get an impression of which way they're off centre. Reposition and try again until the vibration goes away.
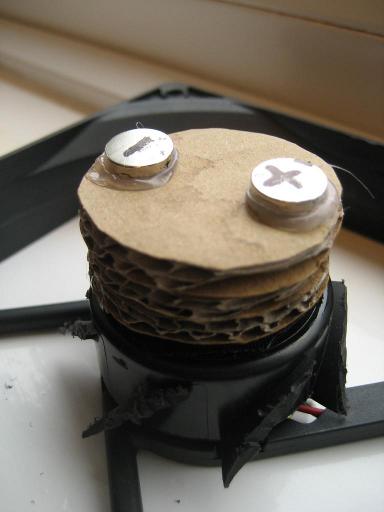

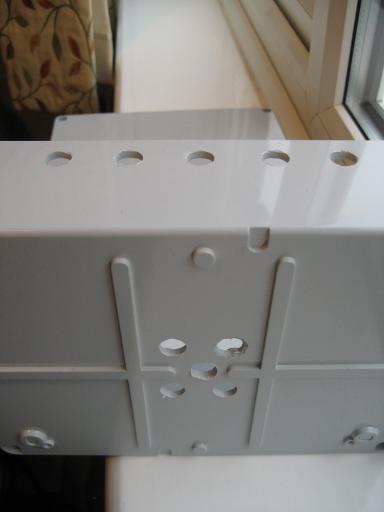
Self-tapping screws into wooden battens seemed like a nice easy way to mount the fan while allowing the vertical position to be tuned. The size of the wood batten (17.5mm square) was chosen to allow for 10mm or so of spacer washers beneath the fan. Add or subtract washers until the height is just right.
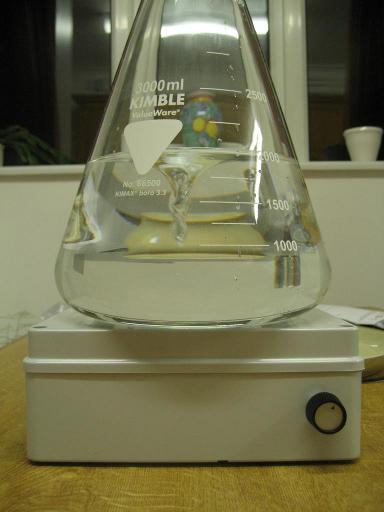
Turning the speed control much beyond half throws the magnet. But I'm happy with this degree of vortex. Suggests that 9v output voltage would be plenty.
Also see it in action on YouTube.
Not part of the stir plate but the flask was the most expensive piece. £20.75 inc. postage from King Scientific.